Are you one of the artists selling on Zazzle who is not seeing the sales you want? This article is for you. I give you easy design tips that you can use to increase your chance of selling your artwork on Zazzle. Have you put the images of your paintings up on Zazzle and thought “I am going to sell lots!” but then had little or no sales? Do you want to know why are your beautiful paintings not selling? As an artist selling on Zazzle, I know what it takes to succeed. Do you want to know what to do? Keep reading this article to learn 10 easy design tips you can use to improve the sales of your artwork on Zazzle products.
Easy Design Tips For Artists Selling on Zazzle
Zazzle is a unique eCommerce platform where you can upload images of your artwork and sell them on over 2,000 different products in your virtual store. Once a customer purchases your product design, Zazzle takes care of printing the product, shipping it, billing the customer, and handling customer service. Then Zazzle pays you the royalty you set for the item you sold.
Sue Chorney is an artist who loves creating watercolor paintings. She is one of many artists selling on Zazzle. Check out one of her 6 Zazzle stores at this link. She approached me recently through my 5 Step Profit Plan VIP Mentoring Program™ and asked me to give her some tips on how she can get more sales on Zazzle using her artwork.
Her obstacles are that she does not have a graphics design program, like Photoshop, to manipulate the photos of her paintings to create Zazzle designs. Sue felt limited in what products she could put her images on by the size and dimensions of the photos she took of her original artwork. She also wanted more design options to help her expand into other niches using the same artwork.
Design Solutions for Sue to sell her artwork on Zazzle
I provided her with several options and realized more artists selling on Zazzle, like yourself, would like to know the answers to Sue’s questions. Sue kindly agreed to let me use her Red Cardinal painting so that I can demonstrate to you design ideas and tips, you can use them with your own artwork to improve your chance of selling on Zazzle.
Do you want to know the design tips I gave Sue? Keep reading the article below to learn valuable design tips you can use right away to improve your Zazzle products.
1 – Use only good-quality photos of your artwork to make Zazzle products
Customers will be turned off from buying if the image of your artwork that use to make Zazzle products is out of focus, was taken in a bad light, or cropped poorly. As obvious as this advice is, it is such important advice that I made it number one on the list of my tips for you.
You can’t sell a product with a poor image printed on it even if the painting in the image is the most amazing painting ever. Make sure you teach yourself how to take good-quality photos of your paintings and use those to add to your Zazzle products for sale.
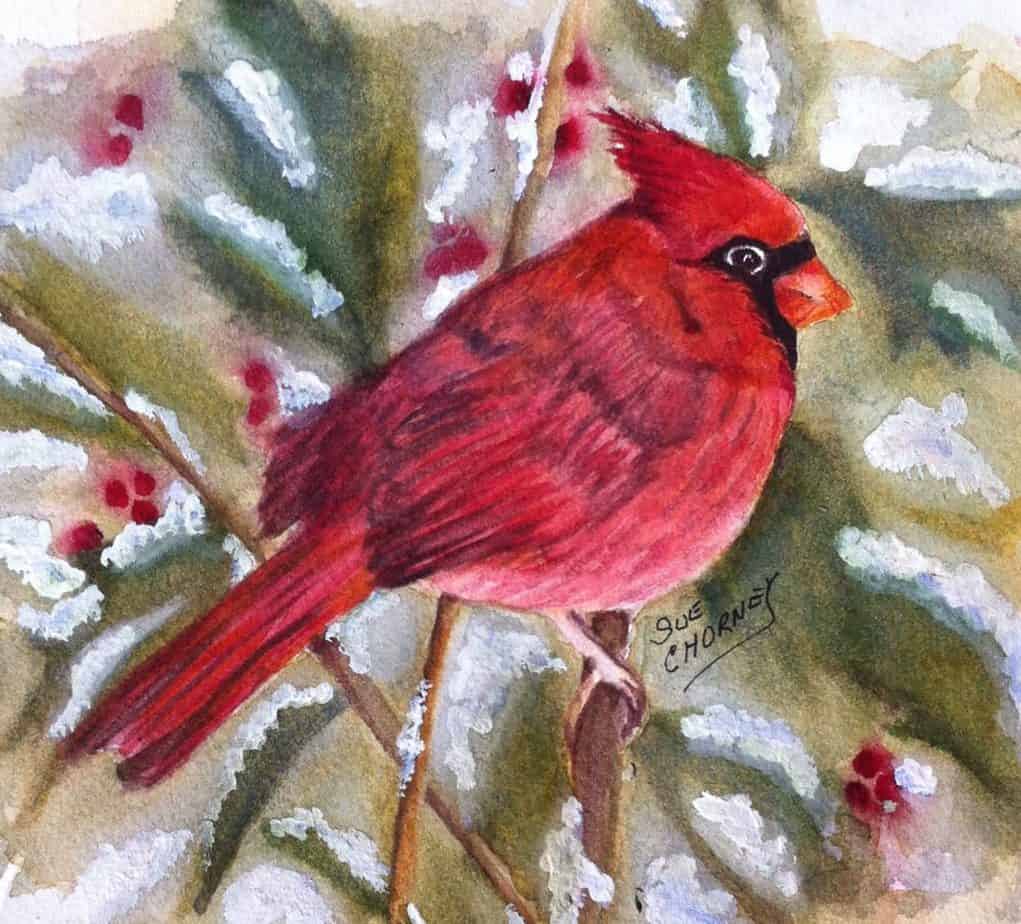
Below is the image that Sue provided of her Red Cardinal painting. It is a pretty good image. But keep in mind that some of the items you want to sell on Zazzle are 2 to 3 feet in size, so make sure your image is good enough quality to enlarge. I recommend checking out tutorials on the Internet to help you improve the quality of the photos you use to upload to Zazzle products for sale.
2 – Full bleed images look more professional and desirable as designs on Zazzle products
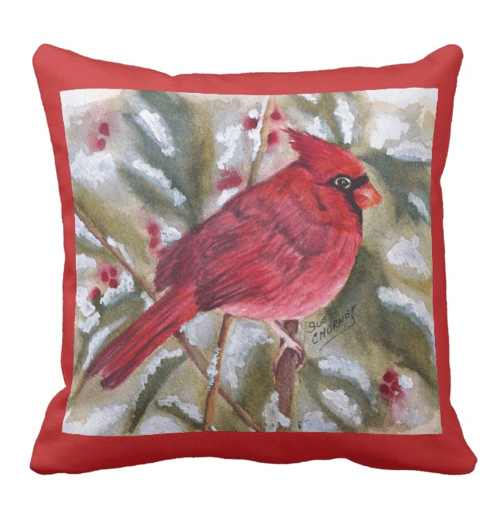
Below is the image of how Sue’s image of her painting should be placed on a pillow to be sold on Zazzle. I am going to use this pillow throughout my examples but you can apply these tips to any product you make on Zazzle. The image goes all the way to the edges and looks great. (See image below).
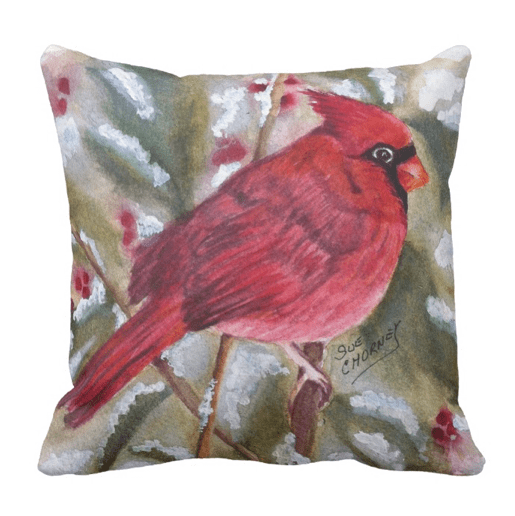
If the product allows for full bleed printing, your image should cover the entire print space to look professional in comparison to other products being sold on Zazzle. If not, then your product will not be as popular and may not sell. This is a common mistake made by artists selling on Zazzle.
3 – Resize your image to adjust to the Zazzle product print area
You have added your image and have enlarged it to full size to fit the print area. But you get a yellow caution sign message on Zazzle “Warning, your custom product has 1 issue!” (see image below).
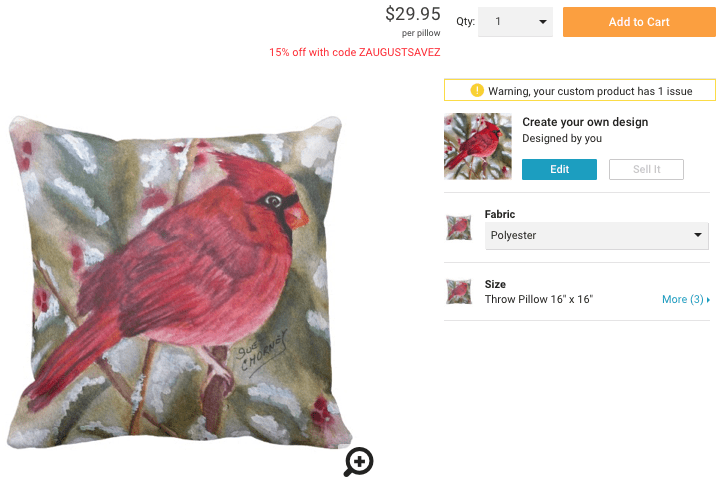
Don’t panic, give up, or worse, do the best you can based on the size of your image. See the other tips below to understand what I mean.
There are solutions. The first is to use a program that resizes your image to the size you need to cover the design space of the product you want to sell on Zazzle. Some other solutions are showcased in the other design tips in this article.
I recommend using a free image sizing program like www.resizeimage.net or this paid option www.ON1.com which also has free trials that you can check out. The main focus for you is to make sure you don’t lose the dpi (resolution) when you increase your image.
Find out which program works best for you so you are not limited to only designing small products on Zazzle. You do not want to miss out on any sales opportunities.
4 – Don’t just fill in the space with a background color
You have added your photo and the warning sign comes up on Zazzle. The image has been made bigger than what it should be to print properly on the product. Zazzle won’t let you post it for sale until you reduce the image size (or resize it – Tip 3). Let’s say you want to just use the image you have. What do you do?
Many artists selling on Zazzle just make it smaller until the warning goes away and then fill in the print space with a background color using the Zazzle design tool. As tempting as this may be, it is the least desirable option.
Even if you use a color that coordinates with your image, this “compensating for not having the right-sized image” technique is the worst choice you can make. See the image below. I reduced Sue’s image to the biggest size I could make it without a warning sign and selected a red background.
It is bad on many levels. First, the image is not square like the pillow. Secondly, the uneven “frame” of red does not add anything to the product. It just screams “I didn’t know what else to do so I added my image and filled in the background with color.”
Customers can sense when something looks unprofessional and they are not going to spend their hard-earned money on something that does not look good.
5 – Use the “Tile” option on the Zazzle Design Tool
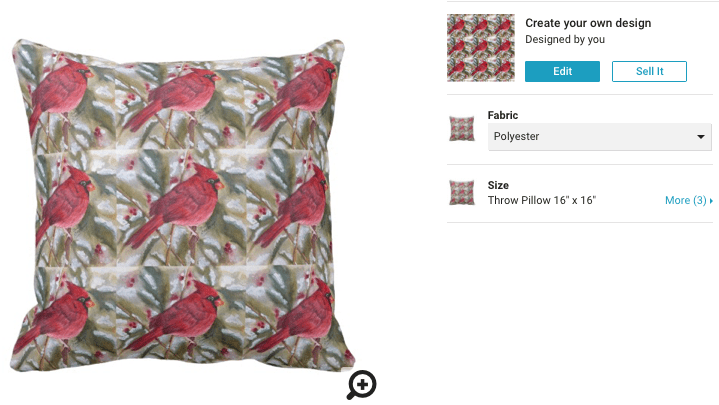
For another option of using an image that is too small to be used as a full bleed option for the design, try using the “Tile” option in the Zazzle design menu.
Not all images of paintings will look good tiled but Sue’s red cardinal painting does. Make sure you choose a good tile size. You want to not make it too busy.
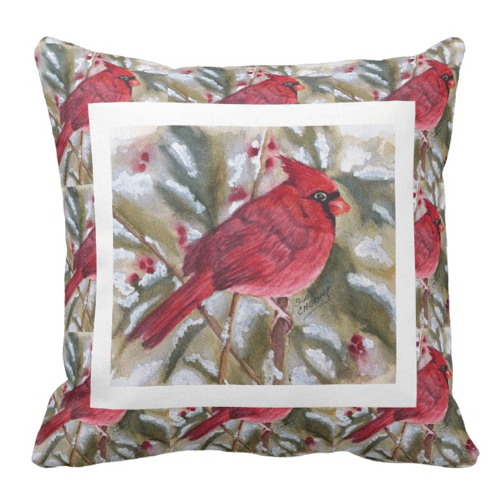
6 – Use the “Add Shape” option to create a frame to even out the design
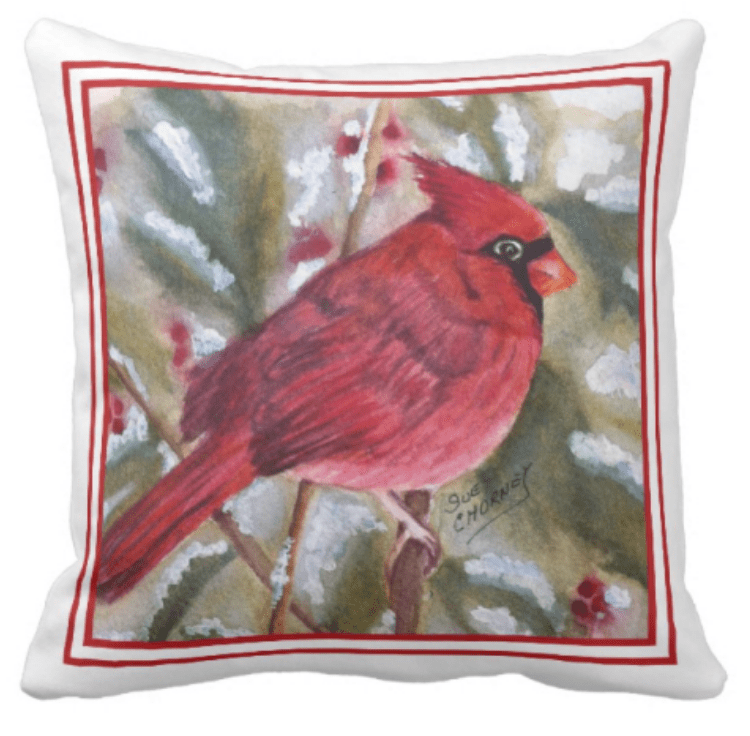
You can create some interest by adding another layer of the image overtops of the tiled design. The problem is that the image is not square. So I used the “Add Shape” option on the Zazzle design tool to create a frame to even out the design.
7 – Make your image dimensions suit the proportion of the product – Use the Zazzle “Crop” option
Sue’s image is more rectangular, but the pillow is square. It is important to make the image proportional to the pillow dimensions because it is better for the design.
I used the “crop” feature on the Zazzle design tool to make it square and also adjusted the placement of the cardinal in the area of the square to improve the effectiveness of the design. Using “The Rule of 3’s” I improved the composition of Sue’s painting. This will give it more visual impact. You can read all about this composition technique in my other article using this link.
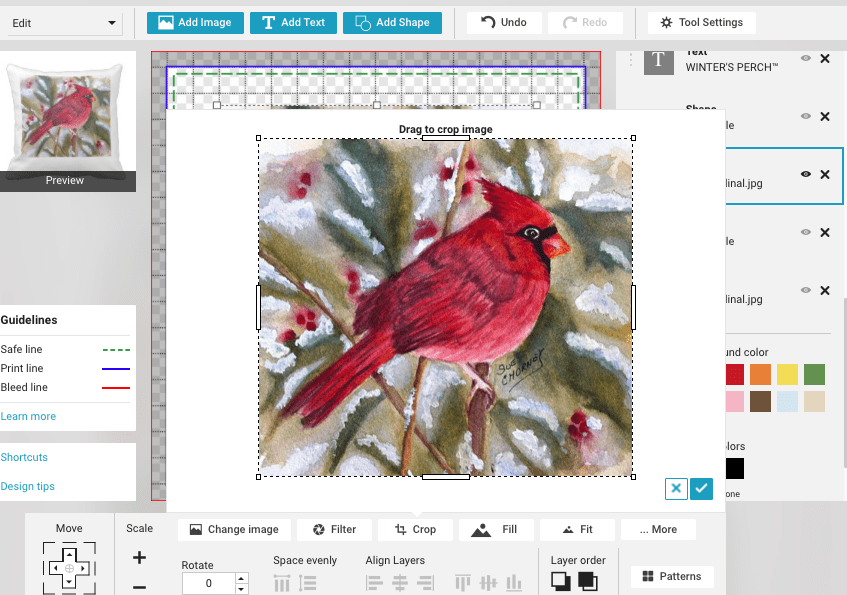
After cropping the image and making it square I added some shapes to create the border and make it look like a frame. See the image below. This is much better than just adding a background color as I see many artists selling in Zazzle do.
8 – Be creative and unconventional with your design elements to entice the customer to buy
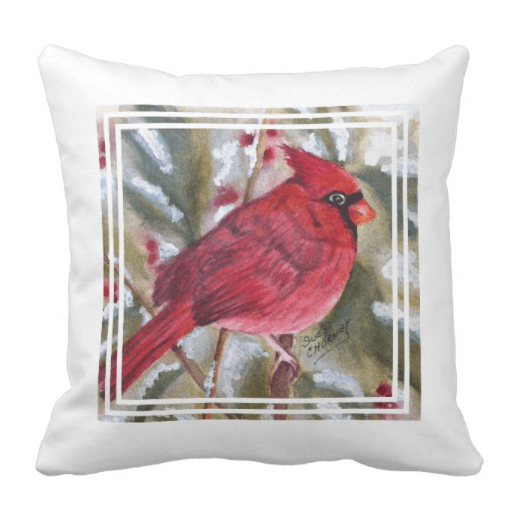
Since the cardinal image could not bleed to the edge, I started to think of how a smaller image could become a desirable design. I wanted something nontraditional and unique that could stand out from the predictable frame option. As an artist selling on Zazzle, I always look for ways to improve my designs and how I present my artwork so that it sells.
That’s when I came up with the design in the image below. How did I do this and all of these other designs? I will reveal all when you watch my live show this coming Thursday, August 9, 2018, at 11:30 a.m. EST. If you are reading this later, check out my Facebook page where you will find this training video and many more.
9 – Make your artwork look in demand, professional, and official
Sometimes making your art look more professional is only a matter of adding your name and the title of your work to the design. In Sue’s case, I made up a fake name for her cardinal painting and even added the trademark symbol to make it look official. Then I added “BY” and Sue’s name. I also added a frame using the shape tool and viola! The customer feels like they are buying a famous artist’s limited edition print.
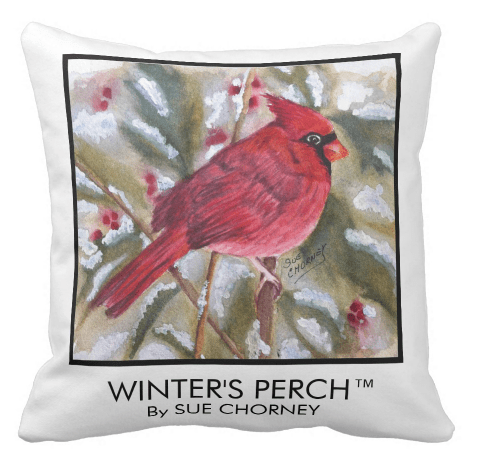
If you are one of the artists selling on Zazzle and you have not yet used this design technique to promote your own artwork, I highly recommend it.
10 – How to sell your artwork in different niches
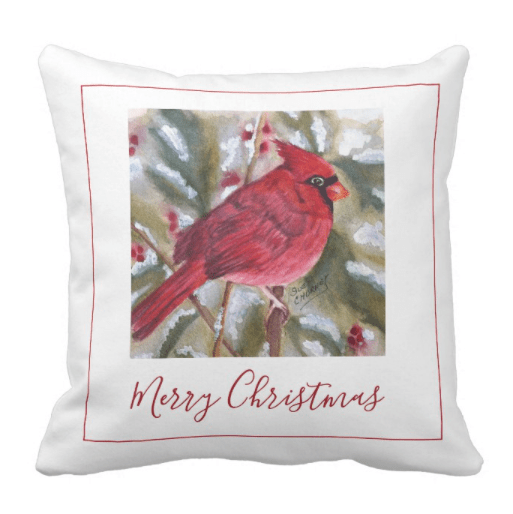
Explore what other niches your artwork might fit into. Sue’s Red Cardinal winter scene is perfect for the Christmas Holiday niche.
The design can easily be changed to fit into this seasonal niche by adding seasonal text like “Merry Christmas” and giving the design a different feel and look. See the image below.
Artists selling on Zazzle, like yourself, can use the subject matter in the artwork to easily find different niches to sell your painting image in. The product types to add your image to should also be in line with the subject of your artwork.
FREE Design Tutorial by Elke Clarke
On Thursday, August 9, 2018, at 11:30 a.m. EST, Elke Clarke and Jen Clarke will be hosting “Elke TV” live on Elke’s Public Facebook Page.
The topic this week will be a FREE Screen Share Design Tutorial Session where you can watch Elke show you how to create the designs you see in this article. This is a must-attend event for artists selling on Zazzle, like yourself.
What you have learned
- Artists selling on Zazzle should never use poor-quality images of their artwork to sell on Zazzle products
- Resize your image to fit the Zazzle products properly
- Use creative ways to make your artwork appealing to the customer
- Expand into different niches to increase your chances of selling on Zazzle
Post Your Answers Below to These Questions
- Are you an artist trying to sell your artwork on Zazzle products?
- Which design technique mentioned in this article do you like the most?
- What is the worst design mistake you have made on Zazzle and how would you fix it now that you know about Elke’s design tips?
About the author:
Elke Clarke is the Founder and CEO of Clarke Courses Inc. Elke mentors and coaches creative entrepreneurs on how to sell on Zazzle. Zazzle, an eCommerce platform, with her 5 Step Profit Plan VIP Mentoring Program™. The 5 Steps are what Elke has used for the past 10 years to run her million-dollar-a-year Zazzle business.
Do you want to find out more about whether Zazzle is the right opportunity for you to make money online and earn a passive income from selling your graphic designs, artwork, and photography?
Contact Elke for a free consultation at support@elkeclarke.com.
OR
If you already know you want to start or improve your Zazzle business, sign up for Elke’s FREE WORKSHOP. Use the link below to learn about what you can do right now to also use Elke’s 5 Steps. Learn about how artists, photographers, and graphic designers are using The 5 Step Profit Plan VIP Mentoring Program™ and achieving success.
Attend this FREE WORKSHOP by clicking this link to get started.


1 Response to "Easy Design Tips For Artists Selling on Zazzle"
1. Yes, I have tried many times. It was in some cases successful, but mostly it was not.
2. I like the most suggestion number 10: Sell your artwork in different niches. It is something like “new idea” for me. And now I think it is probably really good way to make your design more popular, or more visible (for potential customers)
3. I have often filled the space around picture only with background color. I think it was my worst design mistake. In the future I plan to avoid that kind of “solving background issues”. Thanks for great tips!